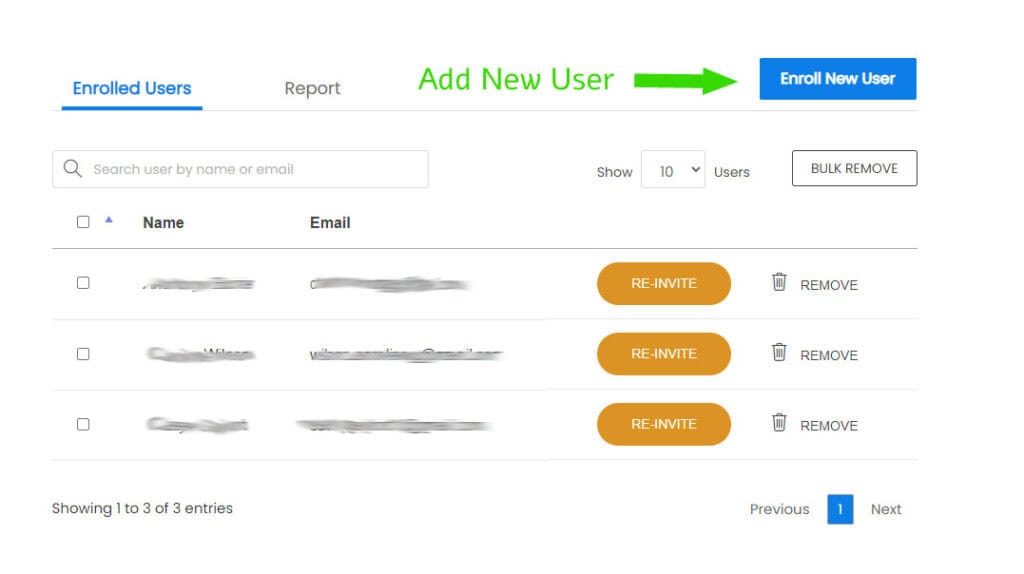
Adding and removing a member of your group takes only a few steps. The first step is to enter your group dashboard.
Click on the name of your group. Usually, it is the name of your company or school.

Scroll down to register any new members.
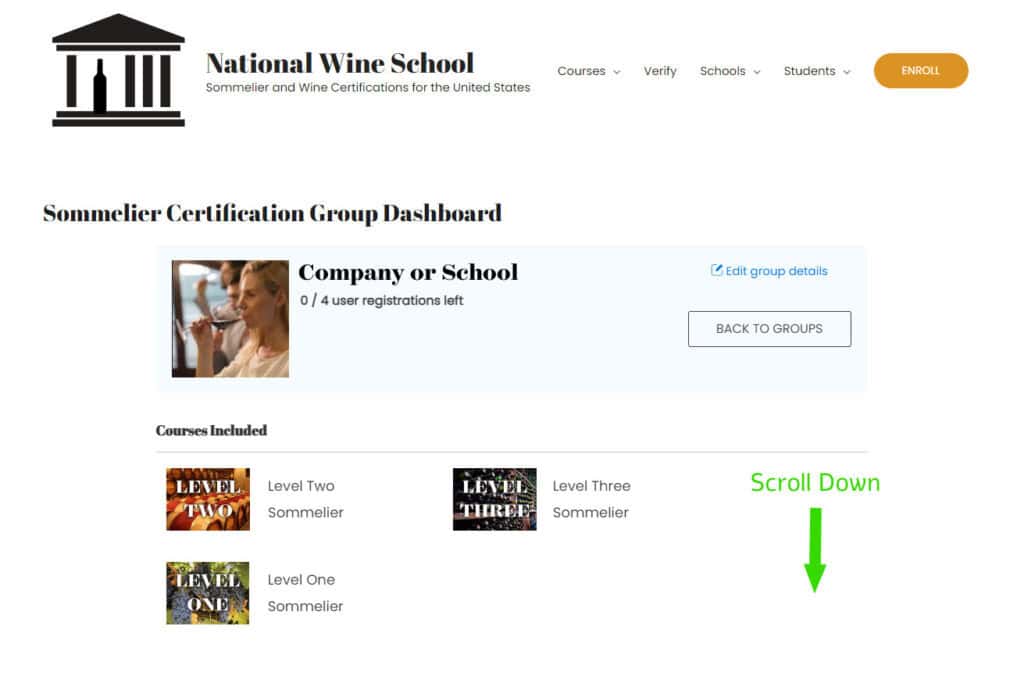
At the bottom of the page, you can add a member to your group by clicking on the “Enroll New User” button. This button shows only when you have availability to add new members. If it is not showing, you must either remove a member or purchase more seats. Please note: once you remove a member they cannot be reinstated, so please be careful when editing.
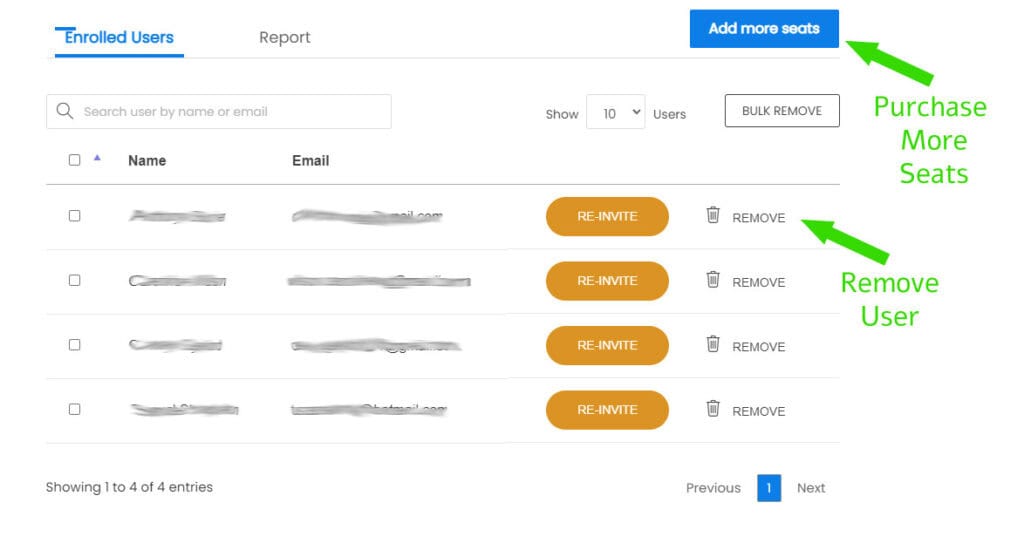
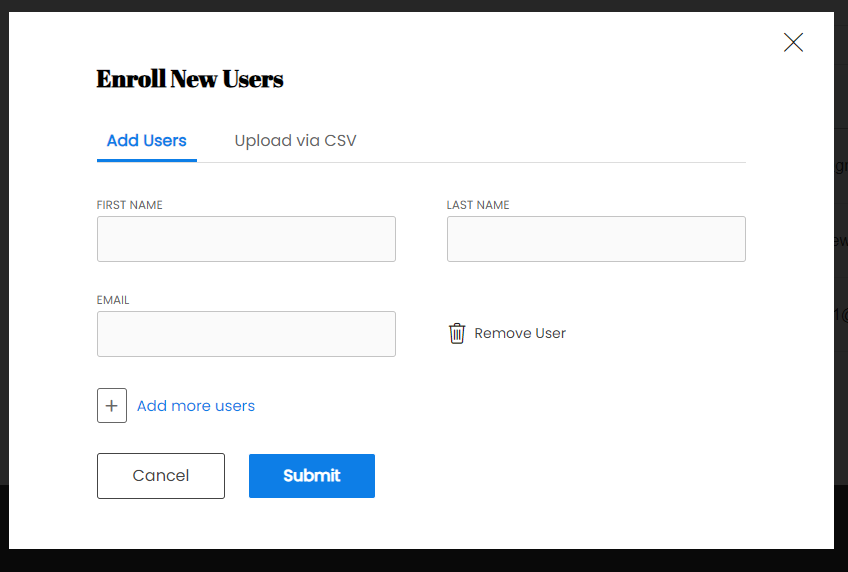
Once you have availability to register new members, click on “Enroll New User”.
Using the pop-up window, and the new member’s information.